When you use grout during your tile installation, there are three primary benefits you get. The interior surface is made water resistant with the application of grout between adjacent tiles. As a result, the damage or discoloration of the tiles gets ruled out. Second, the use of grout helps to keep out mold and mildew, which is again a derived utility of the water resistant property of grout. If done well, the presence of grout in the joints between two tiles often make the overall tile surface more attractive. In case you are planning to do it yourself instead of giving the job to a contractor, here are some tips and techniques which can help you boost your efficiency. Spectralock pro premium grout
- The joints between the tiles won’t be perfectly aligned if the substrate is not perfectly flat. So before laying the tiles, ensure that the substrate is flat, only then will your grouting later work. Additionally you should also use a good quality floor tile leveling system to ensure there is no lippage.
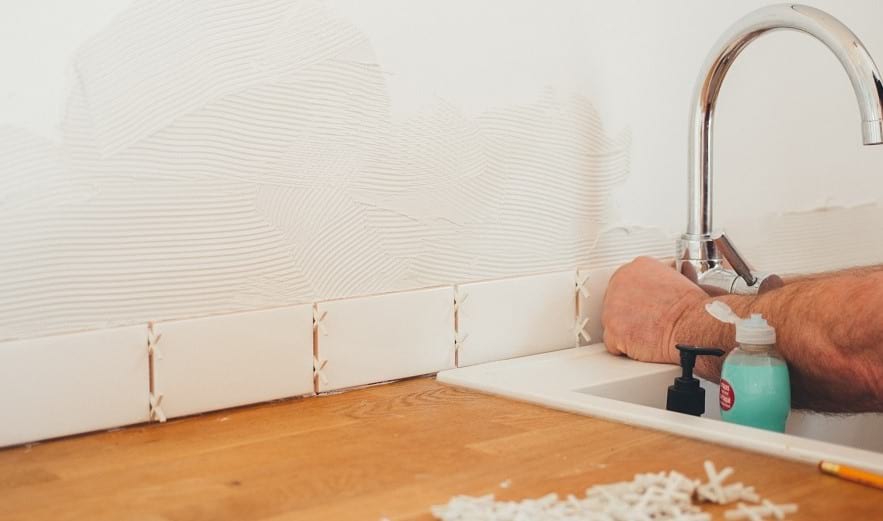
- Once the tiles have been properly laid, ensure that the joints get thoroughly cleaned before the grouting mortar is applied. There could be dirt, debris, paint flakes or even dried mortar in the joints, and later they can cause expansion or shrinkage cracks. The cleaning could be done by a simple blade or knife, and doesn’t need specialized machinery.
- One of the most important tips for you would be to choose the right grout. You could choose from epoxy based grout, cement based grout, and premixed grout at any good store. Cement based grout, again, could be either sanded or unsanded. The type of tile you are using, the location of the installation (wet/dry, etc) and the dimensions of the joints between them determine which one you should choose.
- Just like cement mortar, it is also very important to mix the grout mortar very well. This would ensure that all the air bubbles in the mix have gone out before application. Also, the quantity of mix should be measured carefully, because if unused in the next hour it goes bad.
- Just like curing is a very important part of concrete application, similarly grout mortar should be allowed to stand for a while to ensure that the chemical reactions take place completely. This is called slaking the grout. It makes the joints stronger, and helps avoid cracks.
- A very useful tip followed by all expert contractors is that they work in small sections at a time instead of taking up the entire floor at one go. As each small area is completed, the excess grout in that area can be easily scraped / cleaned off.
- The grout lines need to be ‘tooled’ by you when you are using porcelain tiles. You could use your fingers if the joints are 3/16 “ wide or less, but for wider lines, you should get yourself a grout joint tool.
- You might plan to save expenses by doing your grouting yourself. But do not cut corners on getting the right tools and tackles ? for the job. The amount of money you will spend on buying your tools will still be much lower than the money you would spend on repairs later if the job is not properly done.
- Most people pay attention to the grout application technique, but tend to ignore what needs to be done afterwards. Do make sure that you scrape off all the excess grout and also clean your tools. Proper grout cleaning is very important to ensure a perfect finish.
- The final tip you should remember is to leave floor grouting for at least 24 hours without walking across it.