Had you been thinking of renovating your floors for quite some time now, then it’s the right time for you to go ahead and get that done. No need to worry about the wonky state of your main floor and the cost involved to flatten it out. With all kinds of DIY products available in the market, leveling your floors with self-leveling underlayment is no big deal!
Aimed to help experienced DIY enthusiasts renovate their floors with minimum effort and low cost, Laticrete International has come up with yet another versatile product – Laticrete NXT LEVEL. It’s a supreme quality, cement-based, free-flowing self-leveling underlayment that is specifically designed for leveling all kinds of interior substrates. One of the best self-leveling underlayments, Laticrete NXT LEVEL is gaining fast popularity owing to its rapid setting formula that produces a perfectly flat, smooth, and hard surface for the installation of the finished flooring.
Features of Laticrete NXT LEVEL
The self-leveling underlayment from Laticrete comes with a host of features like:
- The cement-based underlayment is pourable i.e., you can pour it on the floor to let the liquid run across the floor and flow into the corners.
- Its high strength provides a durable substrate.
- Laticrete NXT LEVEL can be applied over Gypsum-based substrates.
- The underlayment is inorganic and as such it will never lead to mold/mildew growth.
- Because of its highly viscous nature and application depth, there is no need for multiple placements.
- The underlayment thus created is suitable for most finished floor goods.
Using Self Leveling Underlayment
Laticrete NXT LEVEL is a DIY product for which you don’t need any trained professional, but yes, it certainly requires some amount of planning and preparation. Let’s see how to use the self-leveling underlayment:
The first thing that you need to do is prepare your floor for the underlayment. Clear or scrape out the debris and make sure that the floor is dust-free.
- Fill up cracks and create dams, if necessary, to hold back the liquid from running into places where you don’t want it to go. The underlayment solution tends to run down the minute holes and cracks. It’s not only that you will not be able to achieve a flat, smooth surface, but you’ll also end up adding more and more underlayment, thus making a full mess of it.
Just a small tip, in case you are wondering how to create dams, use duct tape. It works fine. Once the cement base hardens, you can give the tape a slight upward tug and it will pull off easily. And as for filling up the cracks and holes, use a good quality. Caulk compound that bounds to the substrate.
- Take a bucket and add the required amount of water (clear instructions about the ratio of the mixture will be written on the bag).
- Add a quarter or 1/3 of the powdered compound and mix it. Continue adding and mixing the rest of the compound in small quantities until all of it is incorporated. Make sure that you follow the instructions on the bag for the amount of time needed to mix it.
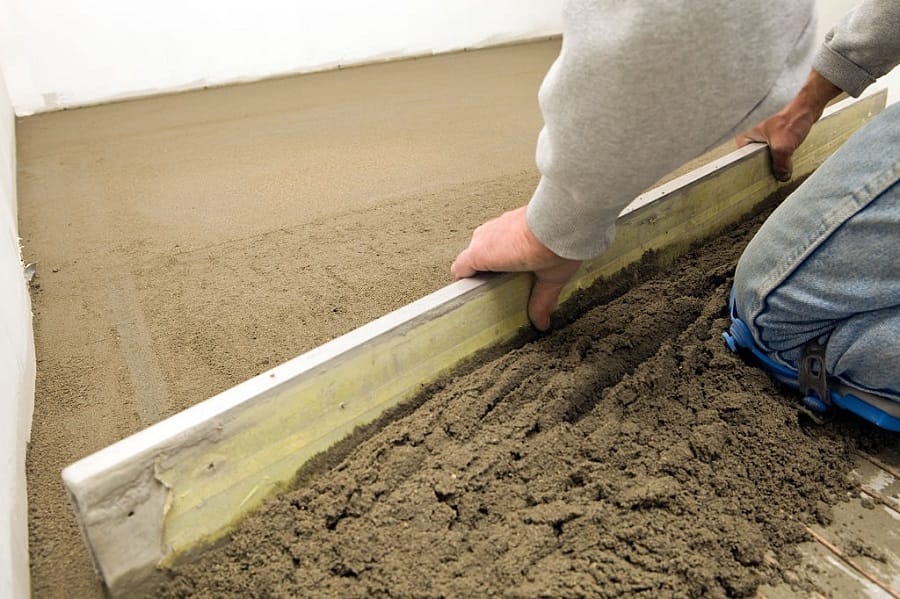
- Once your mixture is ready, pour it over the floor. Let the mixture run across the floor and into the corners where it is needed. Use a trowel to push and pull the mixture to areas that are not getting evenly covered.
- Leave it for 24 hours to dry. Once it has dried, walk on the floor to check if the solution has set in properly.
And you are done with your underlayment! But please make a note to follow all instructions that come with the product for the best results.