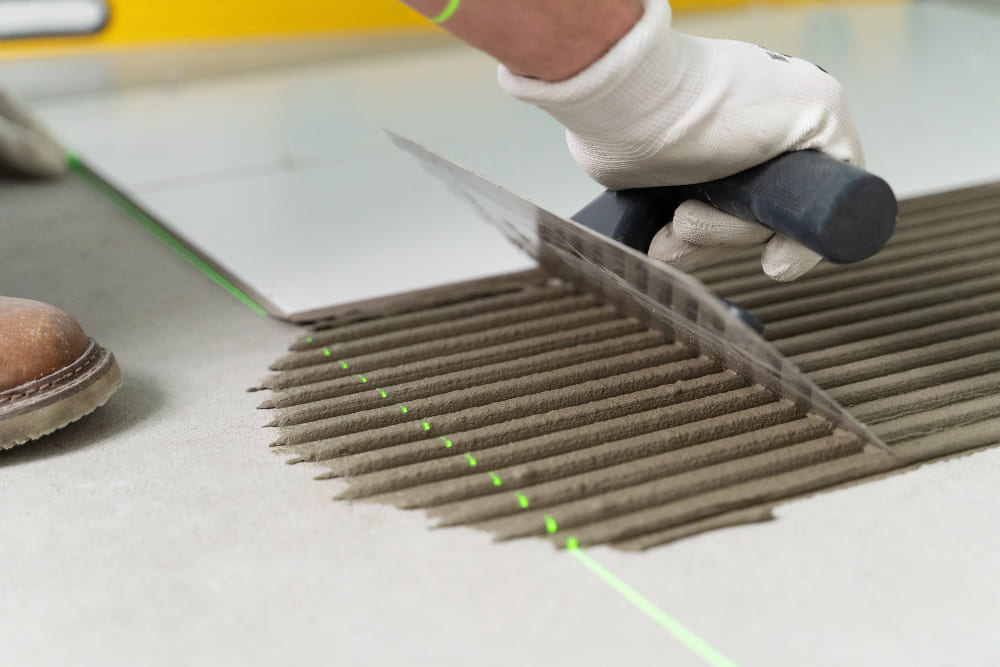
A seamless, even floor is essential for any tile installation. Whether you’re a DIY enthusiast or a seasoned professional, working with an uneven concrete base can lead to cracked tiles, improper grout lines, and a lot of frustration. But fear not—leveling a concrete floor for tile doesn’t have to be an overwhelming task.
This blog will walk you through everything you need to know to prepare a concrete floor for tiling, including assessing uneven surfaces, choosing the right leveling method, and when it’s best to call in the experts.
Tiles are rigid and unforgiving when installed on an uneven surface. Any imperfections in the subfloor can cause tiles to shift or crack over time. A properly leveled floor not only ensures that your tile installation looks fantastic but also guarantees durability and long-term satisfaction.
Before you can start leveling a concrete floor, you need to evaluate its condition. Here’s how to assess your subfloor properly:
Use a straightedge or a long level to identify low spots and high spots. Move the level across different sections of the floor to pinpoint areas that need attention.
Take note of any cracks or chips on the floor. Hairline cracks can sometimes be fixed with leveling materials, but larger issues may require special treatment.
Remove any debris, old adhesive, or dirt before starting. A clean surface makes it easier to spot inconsistencies and apply leveling materials effectively.
The method you choose to level a concrete floor depends on the degree of unevenness and the location of the project. Below are the most common techniques used by both DIYers and professionals.
Self-leveling underlayment is a popular option for minor imperfections. It’s easy to use and creates a smooth surface for tiles. Simply mix the solution, pour it over the floor, and allow it to settle into low spots.
Best for: Minor dips (up to 1/4 inch) and small-scale projects.
For protruding areas, consider using a concrete grinder or sander to remove excess material.
Best for: Addressing specific high spots that disrupt the overall level of the floor.
If your floor has significant cracks or holes, patching compounds are designed to repair these issues before applying a leveling solution.
Best for: Fixing localized damage, such as cracks and chips.
For floors with widespread unevenness, resurfacing the full area with a new layer of concrete might be the most effective solution.
Best for: Spaces with severe unevenness exceeding 1/2 inch.
Now that you know the options, here are a few tips for selecting the method that works best for your space and skill level.
After leveling your floor, it’s time to prep it for tile installation.
Ensure that the concrete has completely dried and cured. Excess moisture can disrupt the bond between tile and adhesive.
Using an appropriate primer will improve the adhesion of the thin-set mortar to the surface.
Plan your tile layout by marking reference lines on the floor to ensure you start in the right place and avoid awkward cuts later.
When to Call a Professional
While many homeowners can tackle leveling a floor themselves, some situations call for a professional.
If large sections of your floor are uneven, resurfacing might be beyond your skill set.
If you notice significant cracking or movement in the concrete, consult a structural expert to avoid further damage.
For expansive spaces, professional equipment and expertise will save time and ensure precision.
To get the highest standard of results, it’s crucial to use the right tools and materials. At Tile Pro Depot, we specialize in providing tried-and-tested products for tile installation professionals and DIYers alike.
From self-leveling underlayment’s to patching materials, we stock everything you need to prep your floor like a pro. Explore our curated selection of top-tier tile installation tools and materials to get started!
Our customer service team is always on hand to answer questions and provide expert guidance—because we aim to make your tile projects as smooth as possible.
Tiling over an uneven floor is a surefire way to run into problems down the line. By following this guide, you can ensure a smooth, even surface that guarantees not only stunning results but also the longevity of your tile installation.
When in doubt, trust the experts at Tile Pro Depot to provide the tools, materials, and advice you need to get the job done right. Browse our product selection today and level up your tiling game.

Welcome to Tile Pro Depot! We established this site to service the specific needs of the tile installation professional. Tile installation tools, tile setting materials, premixed grout and more tile installation products online at Tile Pro Depot.