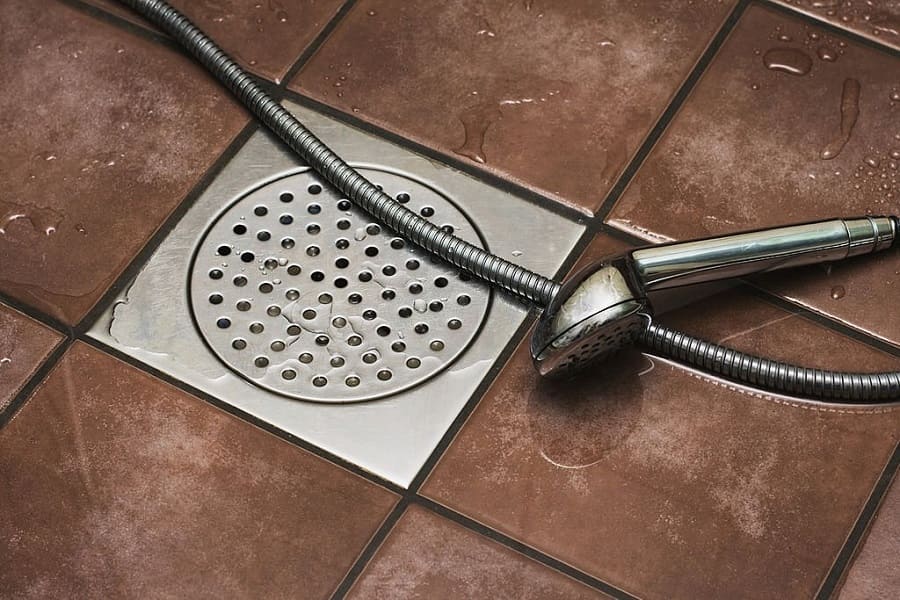
Guide to installing shower drain – DIY help!
Installing a shower drain is an important task. You can either do it yourself (if you have plumbing know-how) or can check with the professionals to get a perfect linear drain shower pan on a concrete floor. A shower drain is an outlet that keeps the floor of your shower dry by collecting and directing the water from the area to the drain. You have a wide range of pipes and sealant options to choose from. However, the main query is how to install a linear shower drain in concrete?
The main advantage of installing the drain in concrete is to keep the mold and mildew away. The shower area is always wet and the dampness increases the possibility of mold formation which is very unhealthy and unsanitary. The properly sealed shower drain ensures an aesthetically appealing wet area that is safe and healthy. How to Tile Around a Square Shower Drain?
Step-by-step guide on installing shower drain
- Plan the location for the drain: You must ascertain the corner where the water must flow freely and doesn’t clog or stagnant. The location of the shower drain is important.
- Hole for the drain: Start by drilling a hole in the concrete by making proper marking. You don’t want to drill too big or too small holes so, measurement is crucial.
- Install the drain: Install the shower drain into the drilled hole in the concrete. Ensure that the drain level and the concrete hold sit properly and there is no gap.
- Fill the hole: Once you are confident about affixing the drain in the concrete hole fix the hole with dirt or more concrete. Level the area properly and ensure that the slope of the entire concrete directs towards the drain hole for smooth water outflow.
- Connections: Connect the shower drain to the outlet ripple that will suck all the water away from your shower leaving no stagnation. Now apply the waterproof solution over the outlet pipe to secure it.
- Testing: Once all the connection and securing of pipes is over; do a trial of the shower run – this means run the water for a few minutes and see how everything works. Ensure that the drain is working properly and has no leaks or no water retention in the shower area.
- Finish and clean: Complete the work by cleaning up the area and removal of any concrete debris. Your shower drain is ready!
Some smart tips – suggestions come in handy
- When you are using a prefabricated unit with a PVC pipe for the shower drain then measure it correctly and use a hacksaw to cut the right piece.
- When you use ABS pipe or cast iron then use the jigsaw to make a hole in the slab.
- Insert the shower drain inside the concrete hole properly to secure it. Also, ensure that the plumber’s putty or premium silicone caulk.
- Another great tip while using PVC pipe is to use primer and cement to secure the pipe in the shower drain properly.
- Always ensure that you check and re-check the PVC pipe connected to the shower drain for any leaks. If you find any leaks – use sealant that is silicone base or plumber’s putty.
- Always install the shower pan with the tiles, surrounding the area. So, when you are cutting the shape of the tiles that will sit closer to the drain hole, measure and cut it correctly.
- Always use a waterproof membrane over the installation of the pipe. This will prevent any seepages of water through the concrete and damage to the frame underneath.
The wrap
Make sure that measurements and the tools are ready when you start the process of installation. Always use safety goggles and gloves while any plumbing procedure.