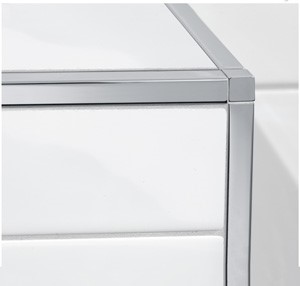
In certain tile installations, a continuous tile application around corners or reliefs in showers call for a trim to create a consistent and finished look in the final product. It’s important that corner tile trim is installed properly, or else the result will look slipshod and clients will not be satisfied with the finished installation. Here are some tile edging and trim advice for installing tile trims on corners and wall applications.
It’s incredibly important to plan ahead before you begin your tile and tile edge installation. Making sure that you have all the tile setting materials and corner tile trim that you need before you start will make it much easier to install the tile trim and saves time.
Here are the tile setting materials you will need to gather before beginning the tile trim and setting process:
(Note for Joe: am I missing anything in this section?)
When cutting aluminum or stainless-steel trim, be sure to use a low speed and cut through the trim slowly. A high-speed setting and quick cut will create high-heat friction and warp the metal, causing an unpolished and uneven finish.
Trim the anchor legs of the corner tile trim so that they do not overlap in the application. Much like a picture frame, the edges should be angled to fit flush together, creating a 45-degree angle.
After cutting the trim, sand down the ends that you just cut to remove any imperfections and burrs left on the end. This is also an important step to not overlook, as the end result will be sleek, and the ends of the trim will be flush where they meet.
The first step is to apply the trim’s anchor leg and embed it into the thinset mortar, making sure to allow the mortar to press through the holes of the anchor. Spread the mortar over the anchor leg and apply the tiles flush to the trim. Be sure to not apply too much thinset, as the tiles may end up jutting out from the trim.
Most corner tile trim will have an attached grout spacer to ensure even spacing along the edge of the tile. The tiles will press up against this, creating the desired even spacing throughout the application.
Any thinset that is left on the walls or trim must be cleaned up immediately to prevent damage to the finish of the tiles or tile corner trim.
When using tile setting materials and corner tile trim in showers and other waterproof applications, do not use nails to stabilize the trim, as you will compromise the integrity of the waterproof membrane. Tape it down for steadiness, instead.
The experts at Tile Pro Depot are happy to help with tile installation projects and provide top-quality tile installation tools & products for tile contractors. For any questions or concerns, contact us online and let us know how we can help. Tile Pro Depot is a professional online tile and stone installation store that offers a wide variety of tile setting materials and corner trim for installation projects.

Welcome to Tile Pro Depot! We established this site to service the specific needs of the tile installation professional. Tile installation tools, tile setting materials, premixed grout and more tile installation products online at Tile Pro Depot.