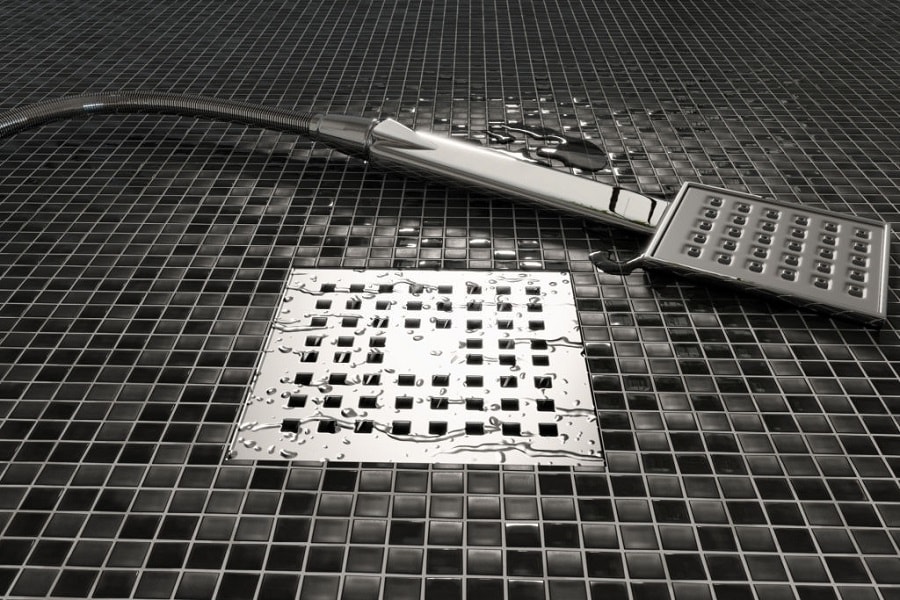
Ceramic is the most durable type of tile you can find in the market. These man-made tiles are the best choice for office settings where traffic is high. These are equally great for homes where durability is a priority. Square tiles are easy to lay on square spaces, on walls, on floors, etc. But oftentimes square tiles have been laid around differently sized objects. That demands resizing of the tiles. Corners and drains are two of those cases. In this article, we will talk about installing square tiles around square shower drains. Although of the similar shape, accommodating one around the other is a tricky business if you take into account the drain slope. Let’s find out how to tile around a square shower drain. Hydro Ban Pre Sloped Shower Pan
Why waste your time cutting and resizing your tiles to align with the drain? Instead of a round drain which is admittedly more in use than the other kinds, get a square drain. These look a little better than the usual round drains, not to mention easier to tile around. Also, the matching of the shapes work to improve the aesthetics of the floor. Square drains are easier to tile around because oftentimes they are sized to match the bathroom floor tiles. That precludes the need to resize the tiles for the purpose. Plus, the seamless integration and the minimal grout lip help achieve a visibly cleaner look that does not easily happen with round drains. Square drains are also easier to maintain compared to round ones. Laticrete HYDRO BAN Linear Drain
This is a lot easier than tiling around a round shower drain. Let’s find out how to tile around a shower drain.
Step 1
Trace the shape of the drain over a piece of piece. Use a tracing paper for this. Just trace the shape of the outer edge of the drain on a piece of paper. But while drawing the shape, make the square about a quarter inch bigger so that it runs along the shape.
Step 2
Now cut the shape out from the paper and place it on a piece of cardboard. Using a pair of scissors, cut out the shape in its exact size from the cardboard with the paper as guide. You can also use a razor knife for this. You will need this cardboard for the installation, so save it.
Step 3
Now start laying the tiles on your shower floor. Use a thinset mortar to hold them in place and spacers to keep them. When you are near the drain, stop the installation.
Step 4
To see how the tiles, have to be laid out around the drain for a seamless installation, loosely lay them around the drain. Now using the cardboard from before, outline the shape of the drain on the tiles that are overlapping it. With square tiles around square shower drain, this shouldn’t be that complicated. All you need is to find out by how much the tiles require resizing.
Step 5
Measure out your tile and the drain to calculate how many tiles you will need to cover the surrounding area.
Step 6
Resize the tiles as required and continue with the installation in the same process followed for the rest of the floor.
Read More: PREFAB SHOWER PANS – PROS AND CONS

Welcome to Tile Pro Depot! We established this site to service the specific needs of the tile installation professional. Tile installation tools, tile setting materials, premixed grout and more tile installation products online at Tile Pro Depot.