A tiling project comes in 3 parts – preparing your drywall for tiling purposes, tiling the surface, and finally, you do the grouting. So, grouting is the final step of any tile installation project. Grouting is the final touch that you give to your tiling project and so it is crucial. Even the most perfect and neat tile job can be ruined by a sub-standard grout job. A neatly done grouting job, on the other hand, goes a long way in transforming the look and feel of the space.
Whether you grout subway tile in a bathroom, or a kitchen backsplash, or just any other in your house, following the proper grouting process will undoubtedly help you get a pro result. Aimed to help you understand the grout job well, we will discuss everything that you need to know about grouting. Stay tuned…
Choosing your grout: You’ll find 3 types of grouts in the market – cement-based grout, urethane grout and, epoxy grout. Cement-based grout is one of the easiest in the grout family to use. It is used for almost all projects. Based on the spaces between your tiles, you can either use a sanded grout (for larger spaced tiles) or a non-sanded grout (for smaller spaces like say one-eighth of an inch).
Urethane grouts are expensive and are available premixed in buckets. You can use the amount of grout needed, seal the bucket, and re-use it later. The biggest drawback of this grout is that it needs a minimum of 7 days to cure and within this period you cannot expose it to water.
Epoxy grouts are also expensive and difficult to use. The usability of epoxy grouts have improved significantly in recent years. Most of our Laticrete SpectraLock Pro Premium grout sales are to DYI’s.
Keeping all your grouting tools handy: Grouting tools or supplies needed to grout subway tiles are: two buckets, grout, rubber grout float, sponges, cloth, knife or drill (to mix grout), grout sealer.
Mixing the grout: Once you have all the necessary tools and supplies handy, start your work to grout subway tile. Use the drill or knife to mix the grout in one of the buckets. And follow it. Add the necessary amount of water and mix the grout till it reaches the consistency of peanut butter. Don’t make the mistake of adding too much water. The less water used, the better will be the grout’s strength and consistency. Mix only that amount of grout needed for a small area, or else the mixture will harden before you can use it.
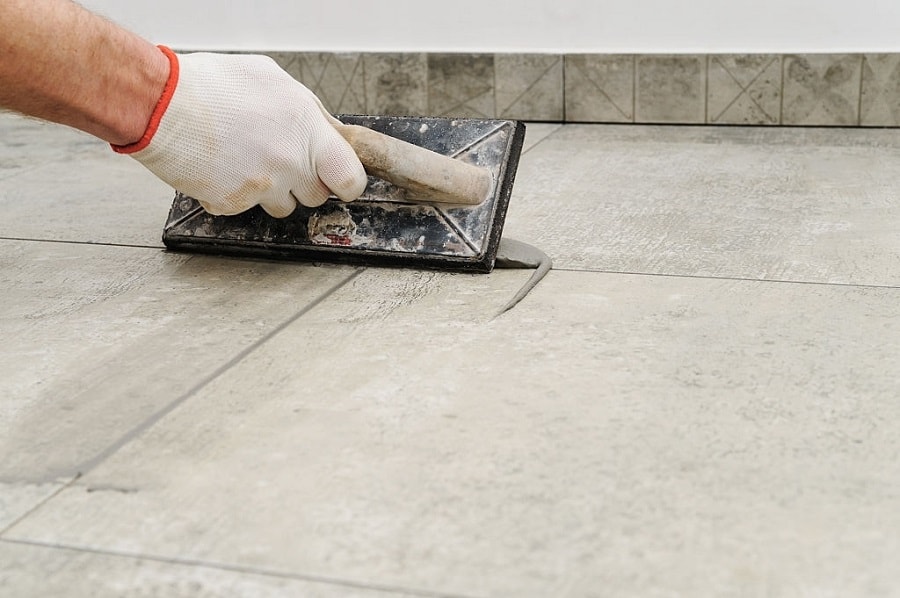
Applying the grout: Start applying the mixture in small areas. Spread the grout over the subway tiles to fill up the joints and spaces using the rubber grout float.
Allow the grout to cure: Once you are done with grout application, allow the mixture to dry for 15 minutes.
Clean the tiles: After 15 mins, take some warm water in the second bucket, dampen the sponge and wipe it over the tiles to remove the excess grout from the tile surfaces. Leave it for the next few hours to let it dry completely. Finally, take the cloth and wipe off the remaining grout film, if any.
Sealing the grout: After 24 hours, use the grout sealer and a clean cloth to seal the grout. Allow the sealant to dry before you start using the space. Sealing the grout increases the lifespan of your tiles by preventing grime and water to seep into the tiles, creating cracks and causing them to break at some point.
Once the sealant dries, your grouting job is complete!

Welcome to Tile Pro Depot! We established this site to service the specific needs of the tile installation professional. Tile installation tools, tile setting materials, premixed grout and more tile installation products online at Tile Pro Depot.