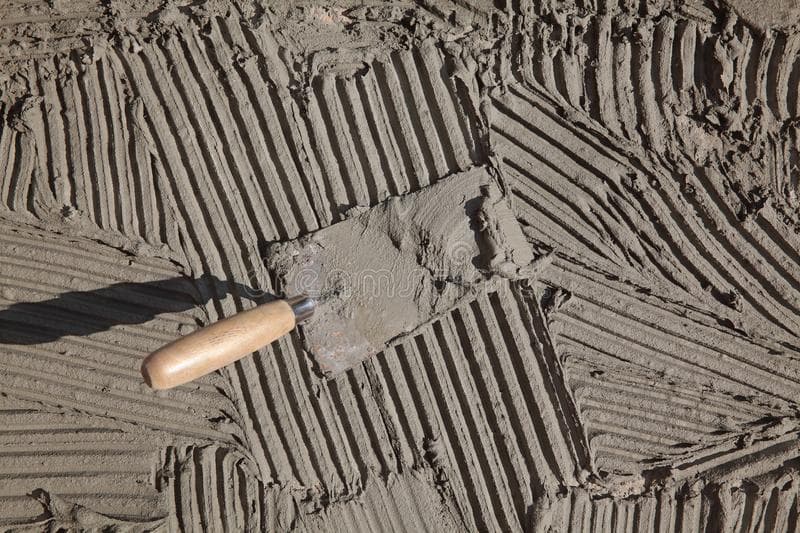
Mortar or Adhesive For Shower Wall Tile
What is the best choice for shower wall tile – mortar or adhesive?
Are you confused in deciding between mortar or adhesive for shower wall tile? Well, cement mortar is the conventional mix popular in attaching tiles to the drywall and floorings in wet areas. However, with the advancement of the building process, many other options are available – tile adhesive is the top choice. What Kind of Adhesive to Use On Shower Tile
Know the basics of both – make a smart choice
Cement mortar is low cost and ideal for large applications. However, you need professional and technical knowledge to use cement mortar for fixing tiles. You must understand that for cement mortar application – you require proper tools, must know the ratio for making the solution and should soak the tiles in water before fixing and cleaning brink bottom powder.
Best Products:
Tile adhesives have high efficiency, you do not require much technical knowledge, no special tools, and it settles quicker than mortar. The tile adhesives have a longer working time. So, you can readjust the tiles in positions. Some adhesives offer an easy-to-apply alternative to the thin-set mortar.
What to choose for your shower wall – tile mortar or adhesive?
Factors that determine the decision of choosing adhesive over the mortar:
- Budget-friendly option
- Higher efficiency
- Ease of application
- Location of the installation
- Size of the tiles
- Convenient and safe
- Curing time required before grouting
- Places like backsplashes, bathtubs walls, and horizontal countertops are suitable for premixed adhesives
What tools do you require for using tile adhesive?
You don’t need too many tools while applying tile adhesive for shower walls or floorings. Simple safety gloves and a scrub cloth are to start with.
- Notch Trowel
- Grout spaces
- Measuring tape
- Straight level
How to apply the adhesive for tiles?
- Always ensure that the base surface for tiling is clean, flat, smooth, and firm. If any of these is missing, do not start the installation of tiles. A clean and dust-free surface is mandatory.
- Start by preparing the adhesive in a large container – 20kgs US measurements of tile adhesive should mix with 5kgs US measurements of clean water.
- Stir the mixture vigorously to get a paste-like consistency and not runny or tight. You can add an adhesive enhancer to this mix to get the right texture, and NOT cement.
- Ensure there are no particles or lumps in this mix for smooth application. Leave it for a few minutes and stir again before applying it to the tiles. Remember that any configured tile adhesive will not last beyond 5-6 hours. So, make the most of it within that time.
- Use a professional trowel for applying the mix at the back of the tiles directly onto the substrate. Start by applying one square meter of the construction surface at a time and then move ahead. Never try to apply the whole area in go and then tile – this is not a smart approach.
- Apply a thin coat of adhesive to the substrate using the flat side of the trowel, and while smoothening it, install the tiles one by one.
- Use additional adhesives and comb ridges by holding the trowel at a 45-degree angle in straight lines. This technique will ensure that the tiles are at equal height and support the tile properly.
- Affix the tiles firmly into the adhesive – you may move the tiles to adjust back and forth but not side to side. You may also lift the tile periodically to confirm 80% of coverage.
- Once all the tiles are in position – leave them for drying. Clean the surface immediately, after it dries up – cleaning will be a hassle.
Conclusion
Never apply more adhesive. More adhesives do not ensure better fixing of tiles but would rather ruin the shower tiling. You may require 24-73 hours to dry the adhesives before grouting.

