Tiles are immensely popular for home decoration. Whether a bathroom or a kitchen, available in a wide variety, tiles can be used to boost the aesthetics of any space. However, it is the waterproofing membrane that adds métier and life to the tile surface. Without it, water seepage will cause structural damage and mold growth, resulting in high repairs. The real success is to install the correct waterproofing membrane that will ensure not only a stunning interior but also peace of mind and a floor that will last several years.
This guide will explain everything that you must know about tiling over waterproofing, including a step-by-step guide on how to install tiles over a waterproofing membrane and best practices.
In damp settings, especially common in places around bathrooms, kitchens, balconies, and swimming pools, issues related to water seepage damage are rampant. Tiles, especially made of porous materials or natural stones, allow water to penetrate the surface. Even the best quality tile grout can’t promise 100% fortification. Over time, this damages the substrate underneath.
The waterproof membrane acts as a shielding layer, averting water from penetrating through the porous surface.
Protect your savings: Waterproofing protects both the tiles and the structure, adding life to your building and saving money.
Increase durability: It adds years to your floor. Helps tiles and grout to last longer and resists cracks.
Compliance with regulation: In many localities, especially in wet areas, waterproofing is a compliance requirement.
Controls mildew and mold damage: It decreases the probabilities of mold and mildew damage by thwarting water from seeping into the structure underneath.
Prevents water damage: Waterproofing principally shields floors and walls from damage caused by extended water exposure.
Proper preparation helps lay the correct foundation for a successful tiling project. Neglecting or rushing this stage may compromise the end goal.
Here are the crucial steps to follow at this stage:
Fundamentally, the preparation stage ensures that the tiles bond strongly with the waterproof below and avert any future water damage.
Having the accurate materials and tools can confirm a smooth workflow and a professional-quality finish. Here is an all-inclusive list of materials and tools for the project.
Materials: Start with the Right Setting
Tools: You Would Need
Waterproofing: Start with the Basics
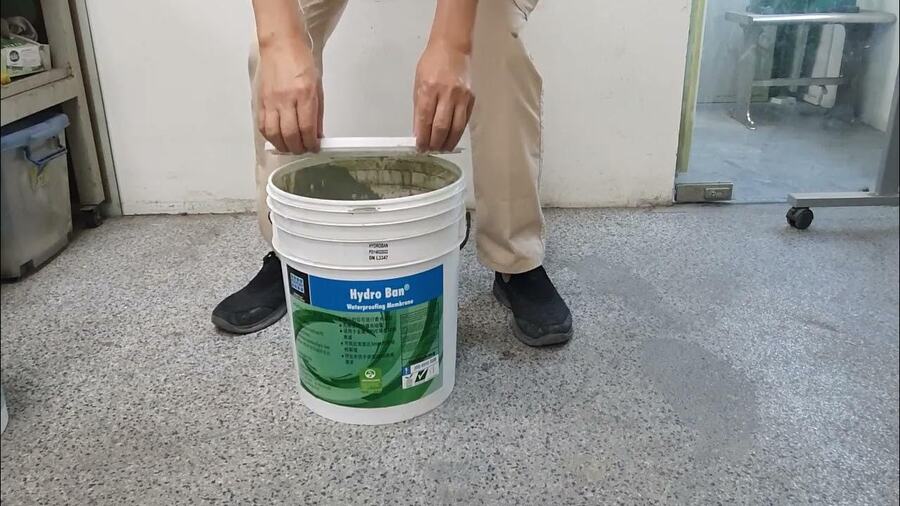
A high-quality waterproofing material is vital to ensure longevity and protect the structure. You can discover a wide assortment of waterproofing membranes on TilePro’s website.
With the above checklist, you’ll have everything necessary to complete the job effectively.
This step-by-step guide assumes the waterproofing membrane has already been installed and cured.
By following these steps, you can achieve a professional finish and a visually appealing floor.
You can enhance longevity by following the best industry practices. These steps will keep your tiles looking stunning for decades.
Tiling over the waterproofing membrane is equally scientific and prudent. The waterproofing membrane acts like a barrier to prevent the water from damaging the underlying structure. By following the step-by-step approach outlined in this guide, you can achieve aesthetic appeal and the functional strength that will protect your space for years to come.

Welcome to Tile Pro Depot! We established this site to service the specific needs of the tile installation professional. Tile installation tools, tile setting materials, premixed grout and more tile installation products online at Tile Pro Depot.