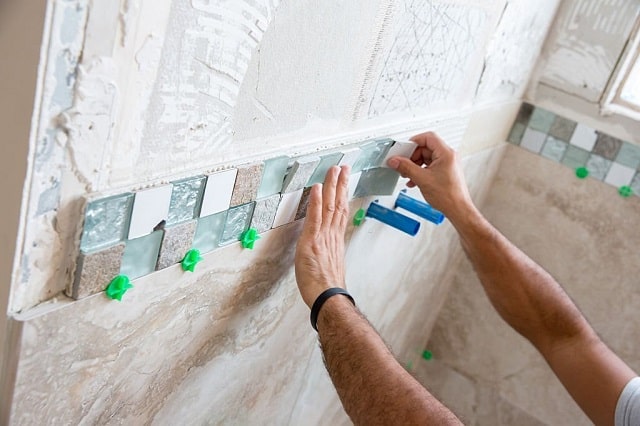
Be smart – get the waterproofing membrane done before the tiling.
Building a great shower is a skill, and you must have the expertise in plumbing to carry out this with perfection. Shower walls require proper plumbing, squaring, and good waterproofing for lasting use. Avoid using drywall or green showers. Rather opt for the substrate for tiling walls. It helps in a better waterproofing solution. But what is the best way to waterproof the shower stall before laying tile?
You can either do the proofing yourself using the DIY technique or hire a professional to get an expert shower wall. Here you can get the tools needed for the process and a complete step-by-step guideline.
Tools required for the waterproofing process
- Blower
- Primer
- Block brush
- Masking tape
- Waterproof membrane
- Roller and bucket
Step-by-step process of waterproofing the shower wall – Before laying tiles
- Wipe the surface properly before starting the process. You can use a powerful blower to remove all the dust and vacuum any smaller particles to ensure that they do not disrupt the membrane.
- Use a dry cloth to get rid of all the moisture from the walls and any surface that requires waterproofing installation. Wetness shall ruin the membrane and the entire process.
- Start the process by applying a thin layer of primer that helps seal the seams of the drywall. The primer helps prepare the walls and makes them ready for the waterproofing procedure.
- Leave the primer on the surface for a few hours until it’s 100% dry for the following process.
- Apply a thin silicone bead on every corner and seam around the surface, waste pipe, taps, and hose plumbing. The silicone coating ensures the shower area turns into a leak proof surface.
- Waterproof membrane on the walls. Take extra care in removing any bubbles or wrinkles from the membrane.
- Ensure that you waterproof the surface with multiple coats and cover the corners of the wall. The entire waterproofing coat should be at least to get the best results.
- Every coat of the membrane coat should be in a different direction that ensures complete saturation of the solution.
- Finally, add a heavy finishing coat to complete the proofing. Leave the shower area for drying. It may take up to 24-72 hours for complete drying.
- Test the waterproofing after it is complete. You can do this by using a thermal camera that shows leaks or seepages.
Benefits of adding waterproof membrane in the wet area
Protection from leakage: The reason is that you get complete protection from water leakage. The shower receives high pressure and a high volume of water. Hence, it is important to have a sealant solution to ensure that the leaks do not cause any slippery or wet surfaces that can be hazardous.
Health and safety: A shower or bathroom which lacks a waterproofing system increases the possibility of mould, moisture, and trapping of microorganisms. From a health and safety perspective, it is dangerous to use a space that is a breeding ground for fungi and mould.
Increase property life: When you use an excellent quality waterproof membrane for the kitchen or shower area, it automatically increases the property’s life and valuation. You get waterproof before tiling the walls. It’s easier on the pocket. However, if you plan to carry out this process after the tiles, it is an overwhelming task and expensive.
Conclusion
Be smart and do not avoid the waterproofing of shower walls to save money or time – it is always advisable to finish the process before fixing the tiles.