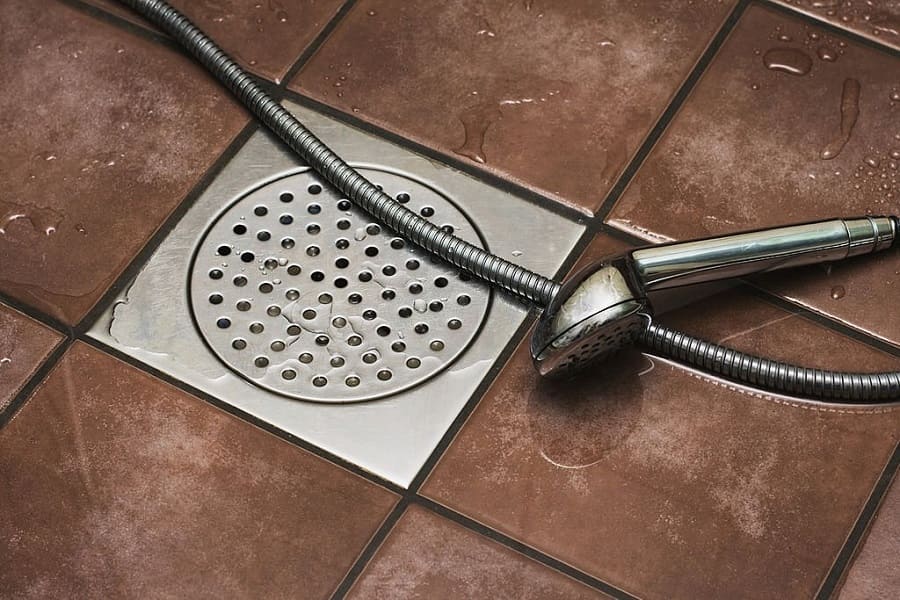
Bath or shower is always a debatable choice. However, with the awareness of water conservation and time constraints, people are switching to quick showers. Walk-in showers are a great way of feeling fresh after a long tiring day at work. The shower takes less space, so it becomes easy to maintain. But if you are planning to spruce up your bath area by installing a shower, here is the DIY help on how to install a linear shower drain.
Material and Tools, you need to install a linear shower drain
- Measuring tape
- Drill
- Hole saw bits
- Utility knife
- Wire cutters
- Bucket and level
- Mixing puddle
- Shovel and trowel
- Grout float and sponge
- Tile wet saw/cutter
- Base drain
- Tar paper
- Linear drain assembly
- Base drain
- Wire lath
- Tile and drain glue
- Thin-set mortar
- Waterproof shower pan linear
- Silicon caulk
- Grout and pea gravel
- Laticrete HYDRO BAN Pre Sloped Shower Pans / Linear Drains
Step-by-step guide on linear shower drain installation on the concrete floor
- Start by measuring and marking the drain location: You can install the linear shower in four ways: three-sided wall mount, free floor mount, and shower entrance floor mount. Depending on the choice you make, measure and mark the location of the drain lines. Remember one thing that floor mount drains have lesser support than the wall-mounted ones. HOW TO INSTALL A LINEAR SHOWER DRAIN IN CONCRETE?
- Measure the drain height and cut the hole: The most crucial step in fixing a linear shower is the perfection of the hole. Ensure that you measure the drain properly, and to achieve this calculate the drain height. The top of the drain should sit 1/16” below the adjacent tile before the grate covering.
- Drill the hole using a saw/cutter: With great precision, cut the hole through the plywood. A general recommendation is to cut a 3 ½” hole at the center of the drain and about 3” away from the back wall. Now slide the base drain in the line to insert the linear drain for accurate measurement. Make the markings and remove the linear and base drain.
- Tar paper and wire lath installation: Using the utility knife cut the tar paper to cover the plywood floor. Ensure that you cover all the corners and the base of the shower walls. It helps prevent the plywood floor from absorbing any dampness from the mortar mix. Use the wire lath sheet to add stability to the pan mortar mix.
- Insert the base drain and create the slope: After removing the wire lath and tar paper, start adding the mortar mix to insert the base drain into the hole. Now connect the drain line properly and level the installation. Do a small leak test by pouring some water into the base drain. You can now glue the drain and seal the parts. Now, start creating the slope using the mortar mix but never cover the base drain. Creating a proper slope helps drain out water towards the base drain.
- Installing waterproof liner and clamp rings: After you leave the mortar to set for at least 24 hours start installing the shower liners for extra protection from water damage. This is a crucial part of how to install a linear shower drain in concrete. The liner must extend 6” up the sides of the shower wall. Tightly secure the base drain using the clamp rings to hold the liner in place and create a strong water barrier.
- Tile and seal cover: Pour the mortar on the liner and fill it properly. Maintain a gradient of at least 2 degrees or create a slope of 1/4” per foot towards the base drain. After completion of the shower tiles installation, seal the drain with silicone sealant. Complete the shower joints using silicone caulk and get a perfect finish.